Mergim islami Aug 01, 2014
Intro to Photography Class
Better known as Reddit Photoclass
29 – Share your work
We have almost reached the end of this course (one more lesson for tomorrow) and we have covered a lot of ground, but there is an important aspect of photography we haven’t yet discussed: once you have created all these (hopefully wonderful) images, what do you do with them?
Except for a few zen monks who are happy to create art and destroy it as soon as it’s finished, photographers want their work to be shared with the world and appreciated by others. For many, it is even why they decide to pick up a camera in the first place.
Sharing your work is also one of the most powerful learning tools out there. Not really because you get insightful criticism (though it does happen, it remains the exception more than the rule) but simply because it pushes you to give the best you can and makes you strive to get even better.
It is all to easy to have thousands of images lying in a dusty corner of a hard drive. To be honest, post-processing is often a bit of a dull job, and people often procrastinate it until a new photo session has replaced the old one. Before your realize it, you have a huge backlog of unprocessed images. Knowing that your work will be seen by others is a great motivation to process them and get them out there.
The good news is that with the internet, it has become extremely easy to share your images with the world. There are many online communities dedicated to just that, and of course photo hosting services like flickr . It is also possible to host your own website with great simplicity, using tools like pixelpost or even wordpress.
All of these solutions allow viewers to comment on your images. Of course, getting feedback is great, but this can also be a dangerous thing. Not everybody is an art critic or even a photographer, so any advice should be taken with healthy circumspection. Raving compliments such as the ones often found on flickr, while certainly nice for the ego, bring little and can give you the impression that your work is perfect and that you don’t need to improve it, a very dangerous attitude.
Another danger is the one of trends. If you are actively looking for positive comments, the easiest way is to follow whatever is hot at the moment: HDR, timelapse, faux-polaroid, vignetting effect, etc. More generally, it can be tempting to use a certain style or subject matter simply to better fit in in your community. The ultimate result is that your images will become generic and undistinguishable from the ones of the next guy.
This brings us to the second point of this lesson: while sharing your work is very important, you need to find a balance as to how much you let external criticism influence you. Not at all, and unless you are an art genius, you will keep repeating the same mistakes over and over without any way of getting out. If on the other hand you follow every advice given to you, you will add nothing personal to your images and will simply produce whatever the hivemind has decided it wanted this week.
The way of the artist is a difficult one – you must accept and listen to honest criticism while standing up for your work. Shoot for yourself, but share your art with the world.
7 Comments
-
-
Just revisited these lessons as my girlfriend expressed interest in learning photography so I sent her this to read through and get started. It’s almost been a year since I bought my first DSLR and started and I’m very grateful for these lessons. Thank you Alex and the reddit community.
-
I actually took a photography class in college 10 or so years ago and I’ve dabbled off and on since then. I now have a renewed interest in photography and so I decided to read through these lessons. Some of it was simply a refresher but there was a ton of good information. I appreciate the work you put in to this and thank you!
-
This site was… how do I say it? Relevant!! Finally I’ve found something
that helped me. Cheers! -
LOVELY
-
xdliej
-
z95gg9


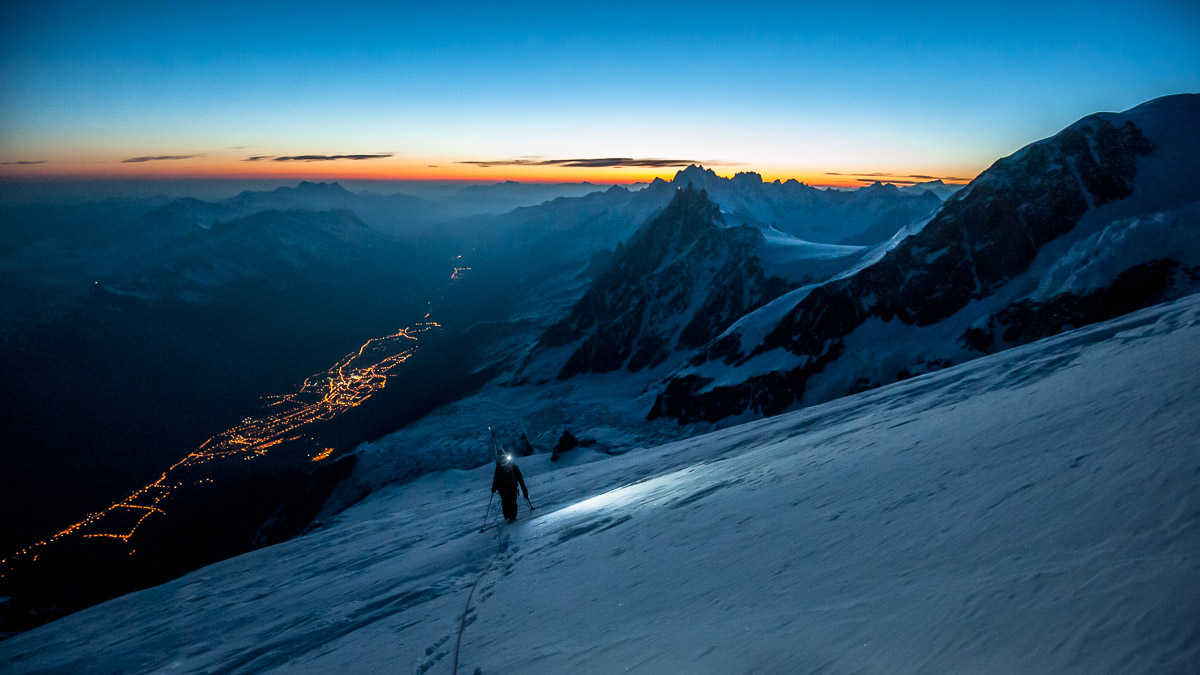
I’ve been following these lessons and I can say I have improved a lot as a photographer and I want to thank you for doing such a thing as this, making lessons that are easy to follow and not to complex. And while some lessons have been complex you still made them understandable, so I want to thank you so much for this but I actually have a question, not about any lessons but more of a post- processing question. The first picture in this lessons that is on the top, how did you make it so… Matte? I’ve seen people expalining how to do the “matte effect” but none looks like this.