Intro to Photography Class
Better known as Reddit Photoclass
21 – The Decision Process
In the previous lessons, we have discussed all the important parameters you can use when shooting. I have tried to present your different options for each situation in the most “open” way possible. Today’s lesson will be a bit more subjective, as I will explain how I shoot, depending on the conditions, and explain my decision process for choosing each parameter. Of course, we are all different photographers, and I have little doubt that many people will have significantly different practices, so let’s just be clear that this should not be considered as a gospel of any kind, but instead as an explanation of what works for me.

Permanent settings
This is the stuff I (almost) never change:
- Quality is always set to RAW. Since my camera embeds a full size jpg file in the metadata, there is no point in shooting raw+jpg. I will only shoot jpg for quick and dirty jobs, such as taking a product picture for ebay.
- Since I shoot raw and post-process everything before publication, I set white balance to auto and forget about it.
- For optimal evaluation of the raw file on the LCD, I set my jpg image profile to low contrast, low saturation, no sharpening and no noise reduction. It looks ugly out of the box, but is the most accurate.
- The AE-L/AF-L is set either to AF-L (focus lock) or AF-ON (triggering autofocus, instead of using the traditional half-press of the shutter). I find that I rarely need exposure lock, and when I do, it is easy enough to go in manual mode.
- The camera is permanently set on high-speed burst mode.
- I disable some of the features of the camera: the annoying beep confirming focus and focus assist light, mostly.
Normal conditions
Whenever shooting in a light that is not too extreme, I use the following settings:
- ISO is set to the base value of 200. I disable Auto-ISO but have assigned one of the control wheels to modifying ISO.
- I put the camera in Aperture Priority mode.
- Unless I specifically want shallow depth of field, I use an aperture of f/8. If I want subject separation, I will go straight to the maximal aperture. I very rarely venture above f/11 to limit diffraction.
- I always keep an eye on my shutter speed. I know that my threshold level with VR lenses is about 3 to 4 stops below the inverse focal length. Whenever I get close to that value, I will start by opening my aperture up to the maximal value. If that still isn’t enough, I will increase ISO up to its maximal acceptable value, which on my D4 I have decided is approximately ISO 6400. If I still have too slow shutter speeds, I will take a burst of 3 or 4 frames and check on the LCD whether at least one is sharp.
- My autofocus mode tends to stay on AF-C (continuous focus) and, depending on the complexity of the subject, I will either leave the camera choose the active AF sensor or, if there are two many possible planes of focus, I will select it manually and use focus and recompose with the AF-L button.
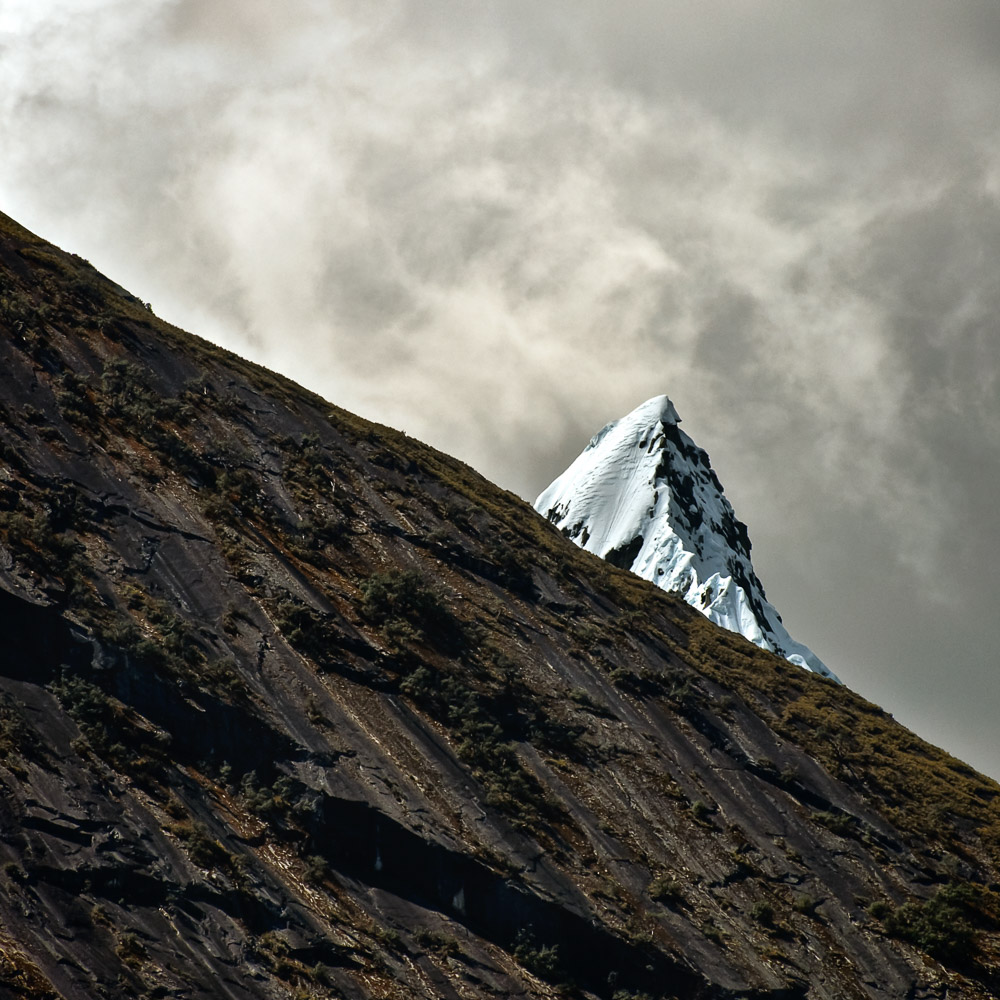
- I use matrix metering in all but the most demanding light conditions. The Nikon version is especially good at detecting and exposing snow, which is very important to my mountain photography.
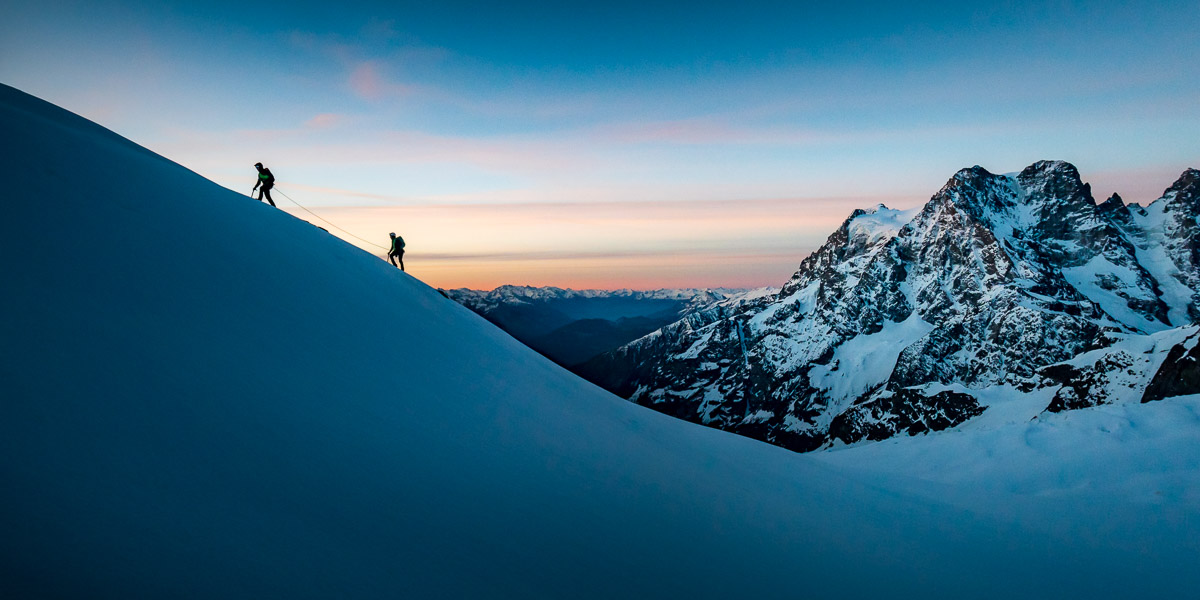
Low light
When the light gets really too low, as discussed previously, I will in order open my aperture, increase the ISO and start taking multiple shots. When speeds reach unacceptable levels (1/4s or more), I will start looking for a stable platform or unfold my tripod. Some other things change as well:
- Assuming I have found a stable enough platform (tripod or otherwise), I immediately put aperture and ISO back to their ideal values.
- Depending on the subject, I might go into spot metering. I might also go into manual exposure mode if the results from the meter are too inconsistent.
- Since autofocus doesn’t work very well in low light, I will try to help it by going into single central AF-sensor and using focus and recompose. If it doesn’t manage to obtain focus, I will switch to manual focus and possibly use the focus scale and hyperfocal distance.
High contrast
High contrast light is very difficult to deal with. Since I don’t carry grad ND filters, I have two options: either use autobracketing and HDR or decide to sacrifice either shadows or highlights.
High contrast light is easy to identify with the histogram: long bars on both edges mean the dynamic range of the camera is exceeded. If there is a bar on only one side, I will use exposure compensation until I get either a correct exposure or a confirmation of too high contrast.

Once I have taken the image, and unless I am pressed for time, I will always review two things on the LCD screen: histogram and sharpness. I leave my review screen in the mode with a big histogram and a thumbnail image, as I rarely check my composition after taking the image, trusting I got it right in the viewfinder.
On my histogram, I mostly look for lost details, identified by a long bar on either edge. If there is one, I will look at the image and decide whether the details really matter. If they do, I will change my exposure compensation and reshoot. The other thing I am checking is whether the histogram is shifted too far to the left, in which case I will try to Expose To The Right and overexpose a little bit.
For sharpness, I simply zoom in at 100% and verify that there is no motion blur.
6 Comments
-
-
Nice point, good guideline for someone who starting photography. Appreciate your great effort.
-
us1k2q
-
32wfzz
-
gvkpyf
-
u2y9i4
These are a great set of tips. Thanks for sharing and taking the time to start this site.